Six weeks earlier, on the same bank of the Danube, Napoleon had suffered the first lost field battle of his career when a flood tore apart his bridges (Aspern-Essling). In July 1809 he turned Lobau Island into a fortress, rebuilt his bridges to hold, and set out to even the score with the same Archduke Charles. But Wagram was not the art of "winning by moving the enemy," as Austerlitz had been. It was a two-day frontal slugging match on an open plain, forced through by roughly 112 massed guns and the sheer weight of numbers. If Austerlitz was a scalpel, Wagram was a hammer — the day Napoleon's method turned from the art of maneuver into a war of attrition.
1. Key facts
- Date
- 5–6 July 1809a two-day battle
- Place
- The Marchfeld plainnortheast of Vienna, in present-day Austria
- Combatants
- France vs. AustriaWar of the Fifth Coalition
- Outcome
- French victory (at a heavy price)→ Treaty of Schönbrunn, end of the war
Note: in this article the French are shown in blue and the Austrians in ochre (yellow-brown).
Strength (committed by midday on the second day)
Fr. about 1.25×
Guns
Fr. clearly superior
Casualties (killed, wounded, captured)
nearly symmetric — the signature of attrition
| Category | France | Austria |
|---|---|---|
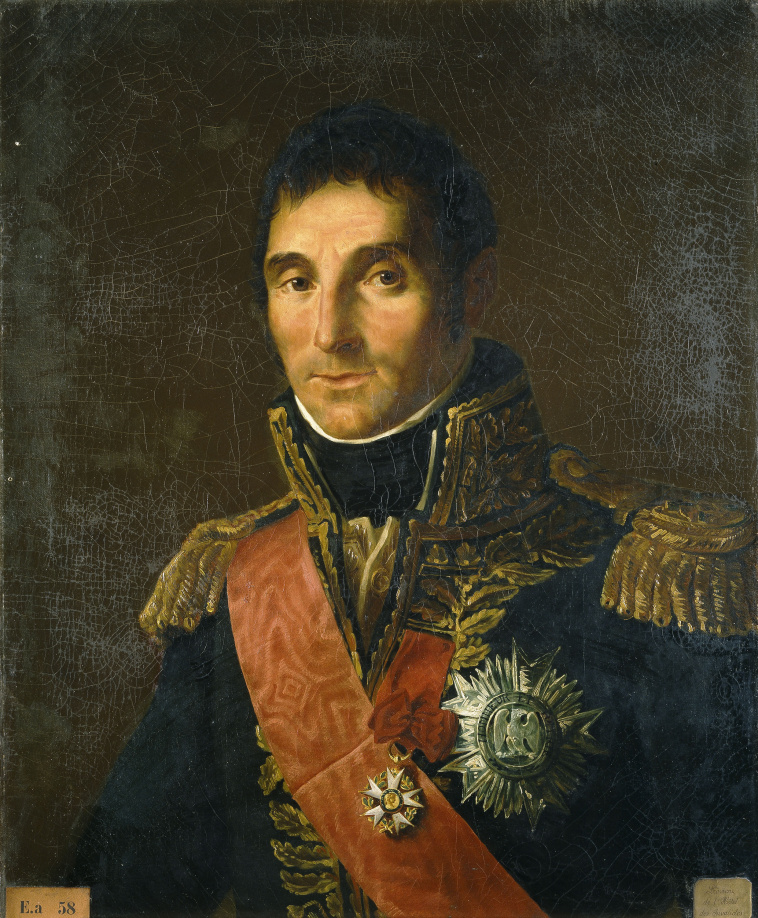
| Supreme command |  NapoleonEmperor, age 39 NapoleonEmperor, age 39 |
 Archduke CharlesAustrian C-in-C, age 37 Archduke CharlesAustrian C-in-C, age 37 |
Note: for the corps-level chain of command, see §3, The two armies. Napoleon's close comrade Marshal Lannes was absent from this battle — wounded six weeks earlier at Aspern-Essling, he had died of his wounds.
2. Strategic background: the lesson of Aspern-Essling
In 1809 Austria rose again, determined to avenge itself (the War of the Fifth Coalition). Napoleon took Vienna, but to strike the main body of Archduke Charles, drawn up on the north bank of the Danube, he had to cross the flooded great river.
On 21–22 May he forced a crossing toward the villages of Aspern and Essling. But his hastily built pontoon bridges were repeatedly severed by the flood and by debris, cutting off reinforcements and ammunition from the far bank. Archduke Charles seized the opening and attacked fiercely, and the French fell back to Lobau Island. It was the first clear, undeniable field defeat of Napoleon's life. There Marshal Lannes, his close comrade, had both legs shattered by a cannonball and died on 31 May[1].
What deserves notice is Napoleon's conduct after this defeat. He did not rush back into the assault; instead he spent about six weeks turning Lobau Island into a vast forward fortress. His engineers drove in piles and threw across several sturdy bridges, and batteries guarded the crossing points. If Aspern-Essling had been an "improvised crossing," the crossing on the eve of Wagram was an "engineered crossing"[3]. The marks of lessons learned from defeat are plainly visible here.
The sturdy bridges thrown across to Lobau Island. An "unbreakable crossing" was the answer to the failure of May.
3. The two armies and the "immovable" plain
French and allied army
-
Supreme command
Napoleon (Emperor, age 39)
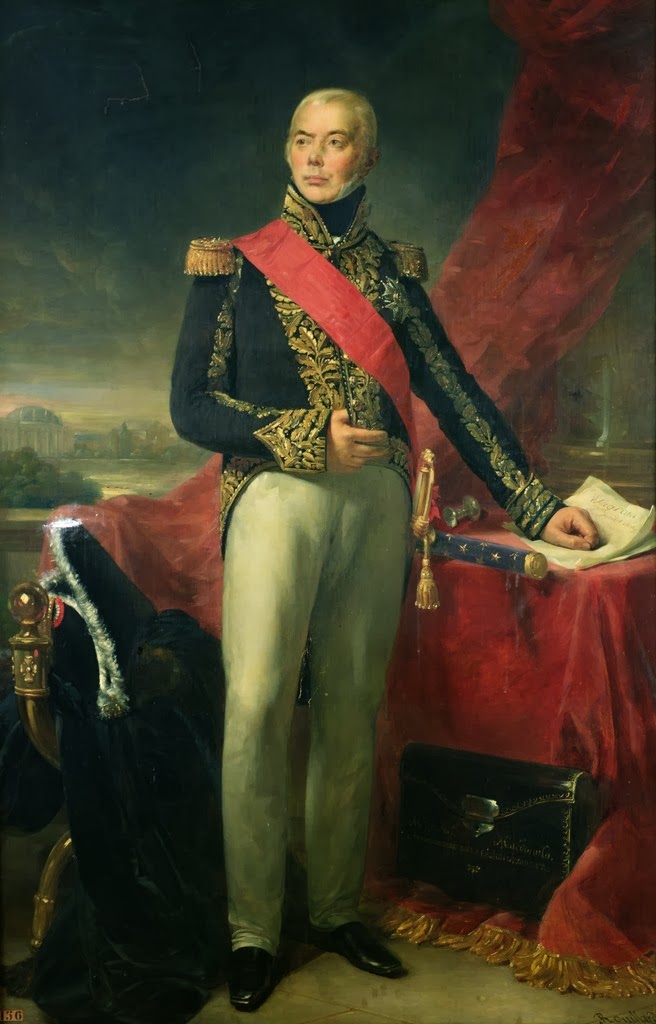
 Berthier (Chief of Staff, age 55 / later Prince of Wagram)
-
Right wing — decisive blow
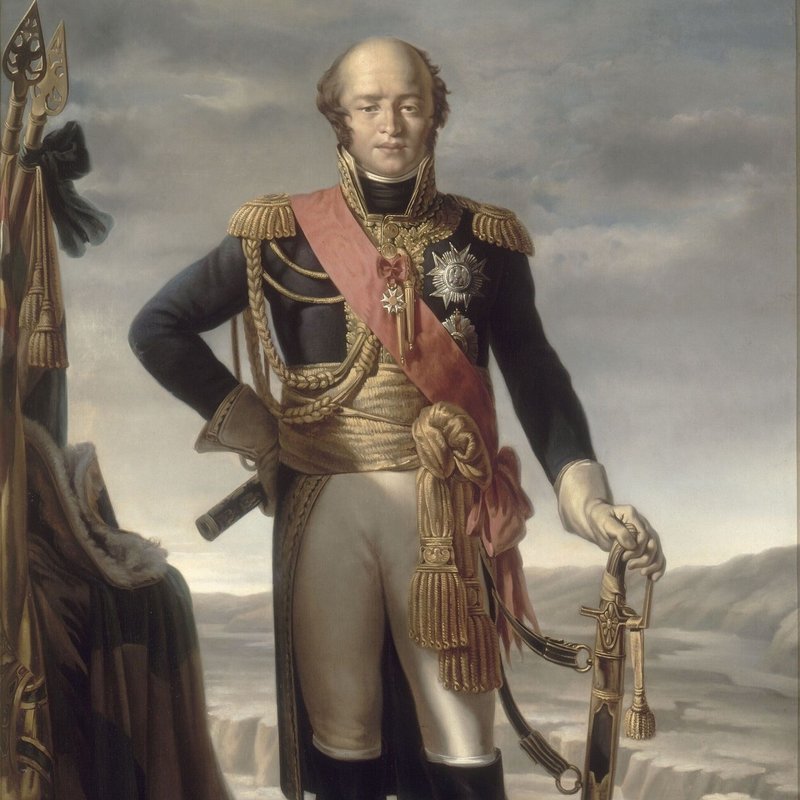 Davout (III Corps, age 39 / shattered the Austrian left)
-
Center
 Macdonald (assault column, age 43)
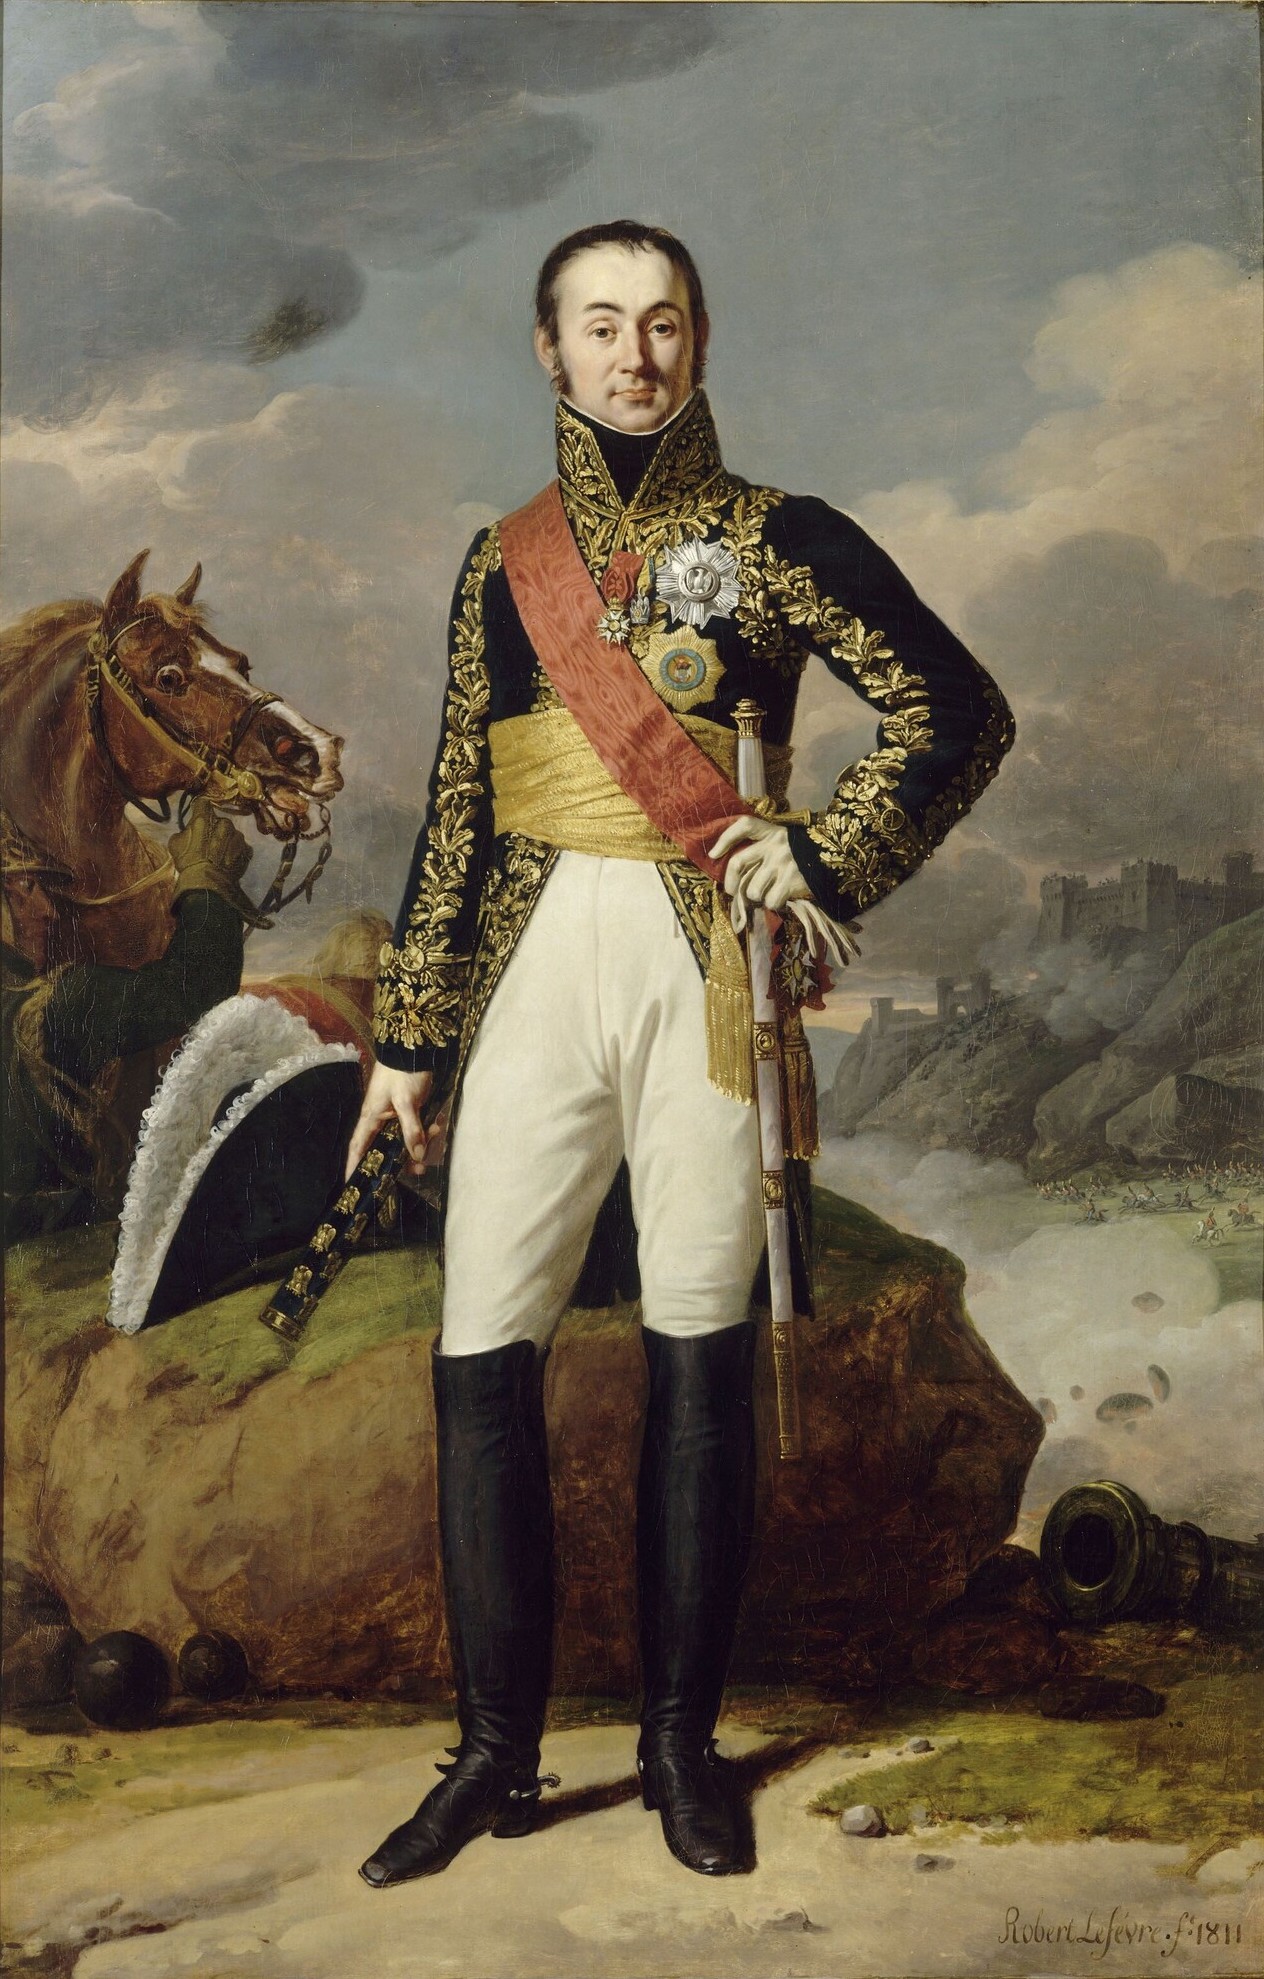 Oudinot (II Corps, age 42)
 Eugène (Army of Italy, age 27)
-
Left wing, reserve, cavalry
 Masséna (IV Corps, age 51 / wounded, commanded from a carriage)
 Bernadotte (IX Corps = Saxons, age 46 / relieved of command)
 Marmont (XI Corps, age 34 / came up as reinforcement)
 Bessières (Guard and reserve cavalry, age 40 / horse shot from under him)
Austrian army
-
Commander-in-chief
Archduke Charles (C-in-C, age 37)
-
Left wing (point of decision)
 Rosenberg (IV Corps / Markgrafneusiedl)
-
Center and right-center
Kollowrat (III Corps / second-morning attack on the left)
-
Right wing (closing on the bridges)
Klenau (VI Corps / recaptured Aspern)
-
Detached corps (arrived late)
Archduke John (reinforcement / arrived after the decision)
The terrain decided the character of this battle. The Marchfeld is a flat, open expanse spreading across the north bank of the Danube, where the two armies faced off along arcing fronts roughly 19–23 km wide[6]. There was no decisive terrain node to be lured onto and fought over, as the Pratzen Heights had been at Austerlitz. Archduke Charles placed his main body along the only ground that gave him any advantage — the gentle plateau above the Russbach stream — and made the villages (Deutsch-Wagram, Aderklaa, Markgrafneusiedl) the cores of his defense.
Since the terrain could not be moved, the outcome would be decided by frontal firepower and the weight of numbers. This is the first reason Wagram became a battle of attrition rather than of maneuver.
4. The battle: crossing, crisis, slugfest, hinge

Act 1 (night of 4–5 July): a crossing masked by the storm. Around 9 p.m. on 4 July, with a thunderstorm covering the noise and movement, the French began crossing from Lobau Island. But they emerged not toward Aspern in the north, as Archduke Charles had expected, but on the island's eastern side. The French bypassed the Austrian shore redoubts and burst out onto the open ground[3]. This surprise should not be overstated, however — Charles had already pulled his main body back from the riverbank to the Russbach plateau on 3 July, so only the placement of his outposts and redoubts was caught off guard. The deeper meaning of the eastward deployment lay elsewhere: the French had wedged themselves between Archduke Charles and the approaching reinforcements of his brother, Archduke John.
Act 2 (evening of the 5th): a run of hasty, piecemeal attacks. That evening, deployment on the plain complete, Napoleon ordered an attack on the Russbach plateau. But the four assaults — by Oudinot, Eugène and Bernadotte's Saxons — lacked coordination and were all repulsed. The confusion is best captured by one incident: following Saxon troops mistook the white-coated Saxons already in a village for Austrians and opened fire on their own[5]. Napoleon's "plan" was coming apart from the first day.
Act 3 (early morning to late morning of the 6th): the crisis on the left. Archduke Charles counterattacked with a double envelopment. His true target was the French left. On his right, Klenau's VI Corps and Kollowrat's III Corps advanced to the southwest, retook Aspern around 10–11 a.m., reached Essling, and trained their guns on the Danube bridges that were the French army's lifeline[5]. Meanwhile, in the center, Bernadotte had abandoned the key strongpoint of Aderklaa before dawn without orders, opening a hole in the line. It was a crisis that threatened to cut off the army's line of retreat — yet the Austrian advance was sluggish, the two wings' attacks were never synchronized, and the envelopment never closed.
Act 4 (midday to afternoon of the 6th): the slugfest and the hinge. Napoleon responded with three things at once. First, Masséna led his corps on a flank march south across the front of the line to shore up the imperiled left (wounded, he is said to have commanded from a carriage). Second, Lauriston emplaced a grand battery of about 112 guns in the center and, firing at close range, checked the Austrian advance[3]. Third, Macdonald's enormous column struck at the center and nailed the enemy in place.
But the battle was decided not by this struggle in the center, but on the right. Davout's III Corps fell upon the keystone of the Austrian far left, Markgrafneusiedl, sent part of his force across the upper Russbach to wrap around the flank, and pushed up onto the plateau. The Austrian left — the hinge of the entire line — broke here[2]. With the hinge gone and the knowledge that his brother Archduke John's reinforcements would not arrive in time, Archduke Charles judged around 2:00–3:30 p.m. that there was no further chance of success and ordered a withdrawal.
The decisive point here is that this withdrawal was not a rout, as it had been at Austerlitz. The Austrian corps each held together and pulled back in good order, and the army escaped destruction[5]. Exhausted and wary of Archduke John's appearance, Napoleon's pursuit was slow and let the enemy slip away. Beaten, but not broken — this single point fixes the strategic meaning of Wagram.
5. From art to attrition: the difference from Austerlitz
Why call Wagram "the turning point of the method"? Set it beside Austerlitz and the difference in character is plain at a glance.

The victory at Austerlitz used terrain (the Pratzen Heights) as bait to move the enemy, then concentrated full force on the single weakened point to break the line — a precise design of inducement. French losses were far lower than the allies', and the victory was brilliant and cheap.
Wagram had no such inducement. There was no movable terrain on the plain, and unlike in earlier years, Archduke Charles did not move carelessly. So instead of moving the enemy, Napoleon kept hammering from the front, weathered the crisis on the left, bought time with a 112-gun battery, used Macdonald's column as a shield to pin the center, and finally smashed the hinge on the right with the weight of Davout. The cause of victory was not cunning but firepower, numbers, and endurance.
The price shows in the casualty figures. Whereas at Austerlitz he was outnumbered yet won overwhelmingly on losses, at Wagram the victor lost almost as much as the loser (France about 35,000 / Austria about 39,000). The historian Rothenberg calls Wagram "a grim two-day battle of attrition, carried by firepower and slugging"[4]. The enemy now knew Napoleon's method, had absorbed it, and had learned to survive in good order — and that fact changed the style of victory from art to attrition.
6. Anatomy of the victory: four elements
The victory at Wagram was assembled not from a single decisive stroke but as the product of four elements. Had any one of them been missing, there would have been no victory that day.
Weathering the crisis on the left
The greatest danger came on the second morning, the moment Klenau closed on the Danube bridges. Masséna's flank march shored the line back up. Not losing was the precondition for winning.
A 112-gun battery bought time
Lauriston gathered the guns of the Guard, the Army of Italy and the Bavarians into the center. Close-range salvos stopped the Austrian advance and bought the time to prepare the decisive blow. Firepower stood in for maneuver.
Macdonald's column pinned the center
The enormous column of about 8,000 could not break through, but it drew in the enemy center and nailed it in place. Making itself a shield to soak up time and enemy troops — it was a costly fixing role (see §7 for the detail).
Davout broke the hinge
On the right, Davout enveloped and seized Markgrafneusiedl on the Austrian far left. The hinge of the entire line came off here, and Archduke Charles's position became untenable. It was not the struggle in the center but the envelopment on the right that decided the battle.

7. Dismantling the myth: Macdonald's column did not break through
A stubborn myth clings to Wagram: that "Macdonald's great column smashed through the enemy center and decided the victory." But the leading scholarship rejects it[5].
The facts are these. The huge hollow square-column of about 8,000 men in some 30 battalions that Macdonald led became, as it advanced across the plain, a perfect target taking shot and shell from three sides. In about an hour, the men still standing fell from roughly 8,000 to about 1,500. The column dented the Austrian line but did not pierce it, and had to halt and call up reinforcements (the Guard, cavalry, Marmont and others)[5].
In other words, this column's role was not breakthrough but fixing. It drew the enemy onto itself as a giant shield in the center, while Davout broke the hinge on the right. The column did not "pierce" the center; bleeding, it "held" it. The renown of Macdonald — promised a marshal's baton in person by Napoleon on the field for his service — is genuine, but the substance of that renown was not heroic breakthrough; it was harrowing self-sacrifice[2].
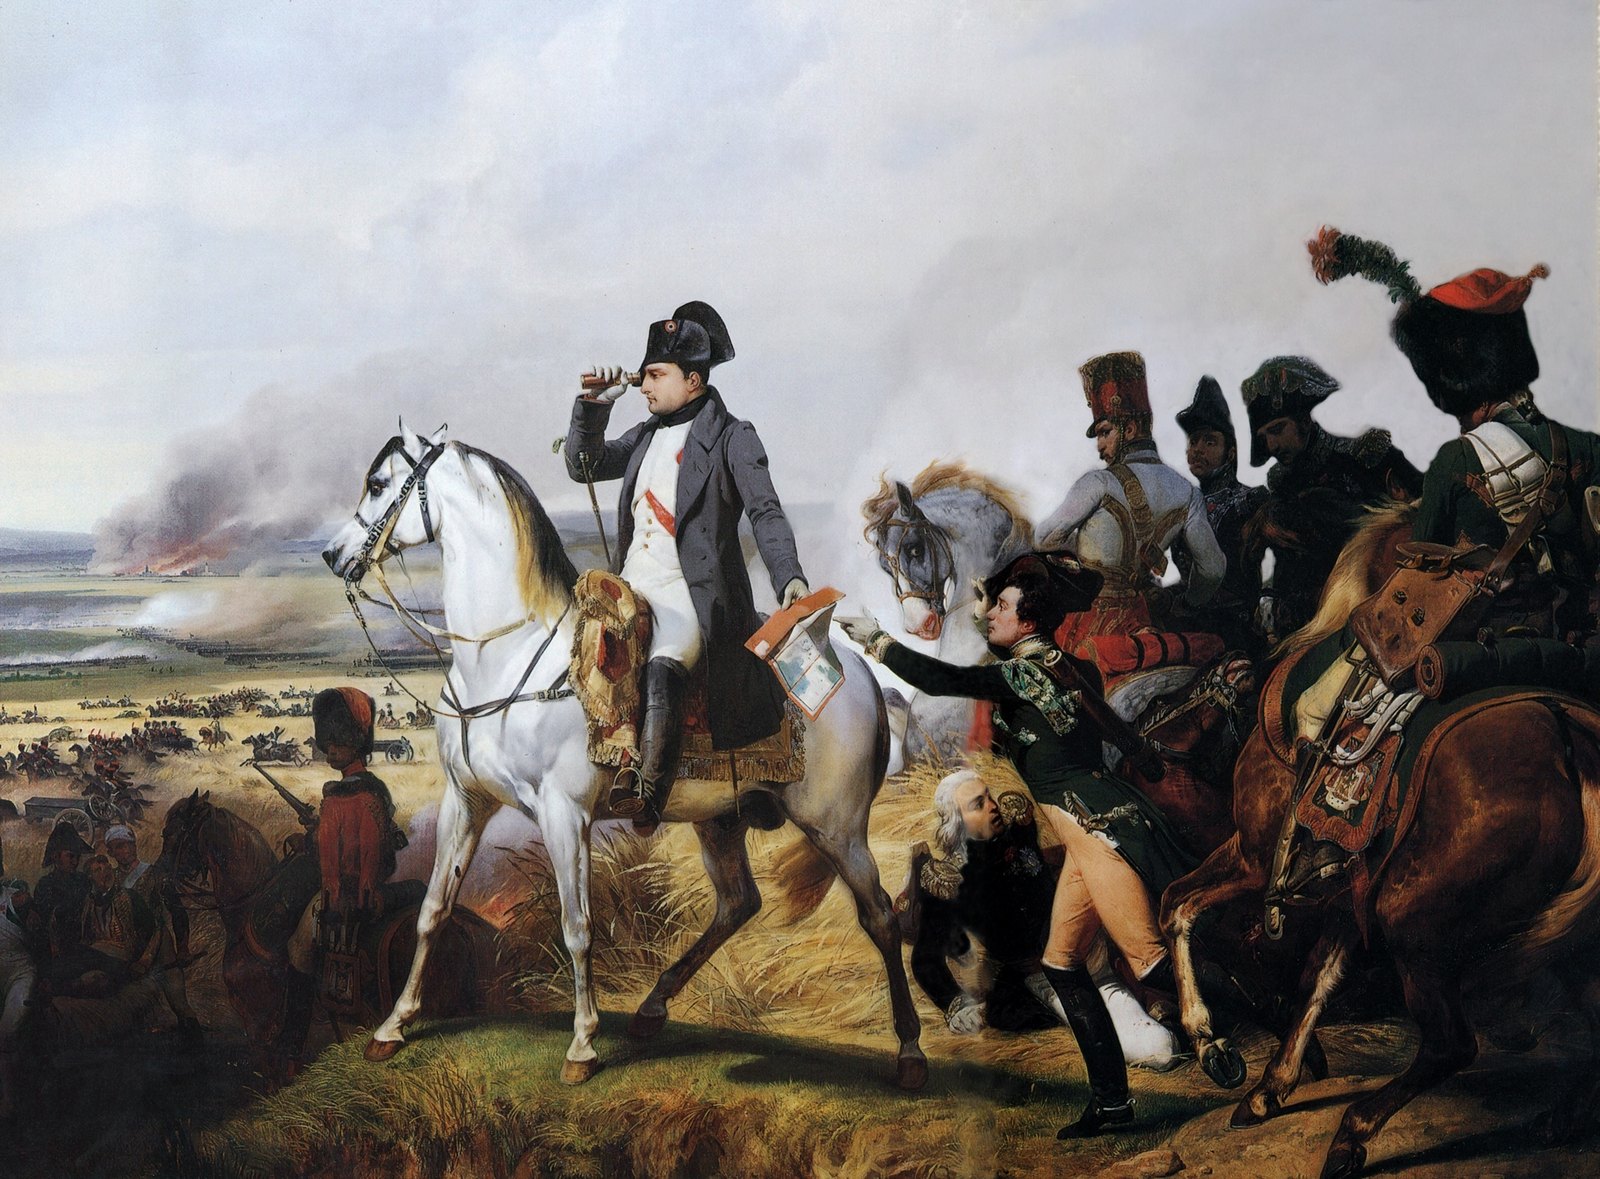
While we are at it, let us dispel another myth. Wagram was not the product of "Napoleon's flawless plan." The hasty, piecemeal attacks of the first day, the friendly fire among the Saxons, Bernadotte's abandonment of Aderklaa, the crisis on the left on the second morning — the battle was full of confusion from start to finish. The image of a serenely composed Emperor in Vernet's magnificent heroic canvas (at the head of this article) is a later staging. The victory did not arrive according to a genius's blueprint; it was barely won at the end of rebuilding the elements one by one in the midst of chaos.
8. Counterfactual simulation
The following is a thought experiment based on the sources, and its conclusions cannot be proven. It is offered to make visible the dependencies among the elements.
| Branch | Tactical result | Long-term effect |
|---|---|---|
| A: Klenau had not slowed his morning advance | Had the Austrian right held the Danube bridges, the French line of retreat would have been cut and the crisis on the left might have turned into collapse. It could well have become a repeat of Aspern-Essling. | Had Napoleon suffered a second defeat on the Danube, the prestige of the empire would have been badly shaken, perhaps emboldening resistance in the German states and in Spain. A branch showing that the victory was saved by the slowness of the enemy's advance. |
| B: Archduke John's detached corps had arrived in the morning | Had 12,000–13,000 fresh troops appeared on the eastern edge of the field, Davout's envelopment would have been obstructed and the decision likely delayed. But the force was small and worn out, and whether it could have reversed the situation is doubtful. | Had Archduke Charles chosen to hold out rather than withdraw, the bloodshed would have swelled further. A branch in which a few hours' delay in the reinforcements governed not whether there would be a decision, but how quickly it came. |
| C: the Marchfeld had held decisive terrain | Had there been a height or a defile to be lured onto and fought over, Napoleon might have brought his natural inducement tactics to bear. It was the openness of the plain that forced him into a frontal slugging match. | That the terrain forbade a war of maneuver was the structural reason Wagram became attrition. A branch showing that the power of the method depended on a stage that allowed it. |
What the three branches show is that Wagram's character — "won, but unable to annihilate" — was strongly determined by conditions outside Napoleon's control: the enemy's movements, the timing of reinforcements, and the terrain. At Austerlitz he could create these conditions; at Wagram the conditions bound him instead.
9. Strategic consequences: Schönbrunn and "the Emperor's last victory"
After Wagram the war ended quickly.
- 10–11 July: the retreating Austrians were caught at Znaim, and after a rearguard action the Armistice of Znaim was concluded on 12 July[5]. That Archduke Charles had concluded it on his own authority deepened the distrust of Emperor Francis.
- 14 October: the Treaty of Schönbrunn (Treaty of Vienna). Austria ceded vast territory including some 3.5 million inhabitants, lost its outlet to the Adriatic (the Illyrian Provinces), was burdened with a heavy indemnity, cut its army to 150,000, and joined the Continental System[2].
- 1810: as a token of reconciliation, Napoleon married Marie Louise, daughter of Emperor Francis (having divorced Joséphine at the end of the previous year — a dynastic marriage to secure an heir). The following year, 1811, the long-awaited legitimate heir (the King of Rome) was born.
Personal fates shifted dramatically too. Archduke Charles was held responsible for the defeat and the unauthorized armistice, and within weeks resigned all command of the army, never to stand at the front again. Meanwhile Bernadotte, who had disgraced himself on the field and been relieved, was — ironically — chosen the next year, 1810, as Crown Prince of Sweden, later turning against Napoleon and founding the Swedish royal house (the Bernadotte dynasty) that endures to this day[3].
And Wagram became, just as the title of the historian Rothenberg's monograph has it, "the Emperor's last victory". From this point on it grew difficult for Napoleon to win a clear, great pitched battle. The enemy now knew his method, and had learned to withdraw in good order, preserve the army, and drag the fighting into attrition. The fire-centered way of war that first budded at Friedland swelled to enormous scale at Wagram, and connects, by and by, to the downhill road that runs through Russia in 1812 (Borodino), Leipzig in 1813, and Waterloo in 1815. Wagram stands on the watershed where the empire's zenith and its shadow cross.
10. Lessons for today
What Wagram throws up is the insight that "an elegant advantage turns into a war of attrition once it is imitated." A first mover's brilliant way of winning ceases to be cheap the moment competitors learn it and follow.
- A first mover's advantage wears away: Austerlitz's method of "winning cheaply by moving the enemy" was cheap only while the enemy did not know it. Once the enemy absorbs the method, the same general fighting with the same talent finds victory turning into a costly war of attrition. Tesla enjoyed high margins (a gross margin of about 25.6% in 2022) during its long run alone in the electric-vehicle market, but as competitors caught up it cut prices by as much as 20% in early 2023, and its gross margin fell to about 18.2% — one case of an advantage from running alone turning into a price war of attrition.
- A victory that cannot annihilate invites the next fight: Wagram won yet left the enemy army intact, and the war flared up again within three years (1812). A victory that cannot bring matters to a close generates the cost of repetition. Netflix monopolized streaming for a decade, but as rivals imitated and entered the field it suffered its first subscriber loss in over a decade (about 200,000) in the first quarter of 2022, its stock fell about 35% in a single day, and it plunged into a vast war of attrition over content.
- A design for not losing is the precondition for winning: the victory at Wagram rested first on having "not lost" on the left. Before the decisive stroke of attack, a defensive design that avoids a mortal wound forms the foundation of the outcome.
Austerlitz's cheap victory and Wagram's costly one. Only by setting the two side by side does it come into three-dimensional view "when, and why," Napoleon's method began to stop working.
Conclusion: the price of the hammer
Wagram is the battle in which Napoleon was forced to change how he won. When there was no movable terrain, when the enemy would not move carelessly, and when the bait of inducement did not work, he set down the scalpel and took up the hammer. A 112-gun battery, an enormous column, a flank march, and the envelopment on the right — the cause of victory was not cunning, but firepower, numbers, and endurance.
If Austerlitz was the art of "winning cheaply by moving the enemy," Wagram was the attrition of "forcing through an immovable enemy at high cost." The victor bled almost as much, and the loser survived without breaking. That was proof the enemy had at last caught up with Napoleon's method, and also the sound of the empire's gears beginning to mesh onto the downhill road. The name "the Emperor's last victory" names at once the brilliance of the victory and the foreboding of the long attrition that followed.
FAQ
It was the largest battle in European history to that point — roughly 300,000 men between the two armies — and the engagement in which Napoleon ended the War of the Fifth Coalition. At the same time, it was the moment his way of war turned from the art of maneuver, winning by moving the enemy, into attrition, forcing through an immovable enemy with mass and firepower. The historian Rothenberg titled his study of the battle "The Emperor's Last Victory."
Austerlitz (1805) was a scalpel-like battle: deliberately empty the center, lure the enemy in, and split the line. Wagram was the opposite — a hammer, a two-day frontal slugging match on an open plain forced through by roughly 112 massed guns and the weight of numbers. What proved decisive was not clever maneuver but weathering the crisis on the left, buying time with the battery, and finally Davout smashing the enemy's hinge on the right.
No. This is the greatest myth of Wagram. The huge hollow square-column of about 8,000 that Macdonald led took shot and shell from three sides as it advanced, and within about an hour the men still standing fell to about 1,500. The column did not pierce the enemy center; it merely made itself a shield and pinned it. The battle was decided by Davout enveloping the Austrian left on the right at the same time.
Roughly 1,000 guns between the two armies fired across the plain, and the French emplaced a 112-gun battery in the center to fire at close range. Since the enemy could not be broken by maneuver, the outcome was decided by frontal firepower and the attrition of numbers. Total casualties came to over 70,000 (France about 33,000–37,000; Austria about 37,000–40,000) — and they were nearly symmetric. The winning side losing almost as much is the signature of attrition.
Six weeks before Wagram (May 1809) Napoleon tried to cross the Danube at the same place, his bridges were torn apart by the flood, and he suffered the first field defeat of his career; his close comrade Marshal Lannes was killed there. Napoleon then fortified Lobau Island, rebuilt sturdy bridges, and prepared the crossing meticulously. Wagram was his battle of revenge, and the marks of lessons learned from defeat lie in how an improvised crossing became an engineered one.
Bernadotte, who led IX Corps (mainly Saxons), abandoned the key central strongpoint of Aderklaa before dawn on the second day without orders, opening a hole in the line. Afterward he issued, on his own authority, a proclamation exaggerating that his Saxons had won the victory, which earned Napoleon's wrath and cost him his command. Ironically, this same Bernadotte was chosen Crown Prince of Sweden the next year, 1810, later turned against Napoleon, and founded the Swedish royal house that endures to this day.
It is the title the historian Rothenberg gave his study of Wagram. From Wagram on, it grew difficult for Napoleon to win a clear, great pitched battle; the enemy now knew his method and had learned to withdraw in good order and preserve the army. Considering the downhill road that follows — the 1812 Russian campaign, Leipzig in 1813, Waterloo in 1815 — Wagram stands on the watershed between zenith and decline.
Archduke Charles was held responsible for the defeat at Wagram and for the unauthorised armistice negotiations at Znaim, and within weeks he resigned all command of the army. He never again led troops at the front. It was the departure of the man regarded as the only tactician in the Austrian army who could stand on a par with Napoleon — itself another grave loss for Austria.
Claims and Sources
- David G. Chandler(1966). The Campaigns of Napoleon, Macmillan.
- Encyclopædia Britannica. Battle of Wagram, Encyclopædia Britannica. [link]
- Harrison W. Mark(2023). Battle of Wagram, World History Encyclopedia. [link]
- Gunther E. Rothenberg(2004). The Emperor's Last Victory: Napoleon and the Battle of Wagram, Weidenfeld & Nicolson.
- J. Rickard(2009). Battle of Wagram, 5-6 July 1809, HistoryOfWar.org. [link]
- Wikipedia contributors. Battle of Wagram, Wikipedia. [link]